 Sound Absorption
  Sound Insulation
  Vibration Isolation
  Silent Ventilation
  Accessories
  Thermal & Acoustic Insulation
 The wooden floor
The insulation value of a wooden supporting floor is not particularly high. Both contact and airborne sounds are perceivible especially under the wooden floor but also in rooms next to it, for example at the neighbours. In the scenario described on the rest of this tips page we base ourselves on a typical wooden floor with a construction of wooden beams finished with simple sheet material such as plywood or underlayment. In older homes, these are usually (creaking) planks. The two weaknesses of this structure are a lack of mass (weight) and stiffness. Below you will find a step-by-step plan to insulate the floor.
Reduce contact noise
According to our step-by-step plan, reducing contact noise is achieved by applying a layer of Agglomer D200 with a thickness of 10 mm (upon the Isomat KE) with at least one layer of gypsum fibreboard (or similar) on top of it. Agglomer Vibration insulation reduces contact noise, caused, for example, by sliding chairs. To reduce the noise caused by walking, you need to mount extra support beams inside the floor, in order for the floor not to bend.
Reduce airborne noise
Reducing airborne noise, which is what this step-by-step plan is mainly intended for, such as speech, music and sounds, is achieved by making the floor heavier by means of the right product. The heavier the floor, the higher the insulation value. The thickness of the floor is not important, but the weight is!
For isolating airborne noise, we recommend using Isomat KE14, this product provides a weight gain of 14 kilograms per square meter. Generally speaking, the load-bearing capacity of the floor can handle adding weight. Do you have any doubts about this? Then inquire a contractor or architect that knows the load-bearing capacity of the floor. Do not stack large quantities of Isomat on top of each other by any means, in case you want to complete the job later, since Isomat KE14 weighs more than 2800 kg per cubic metre!
Why Isomat?
Isomat is an acoustic insulation material suitable for light floors and walls for two important reasons. First, the product is thin, up to 6 mm thick. This is practical when it comes to transport, handling and processing. Therefore, in most cases it is not necessary to make doors shorter. The second, and most important reason, is the composition of the product. The rubber and steel ensures a high density and specific gravity.
In practice, it often turns out that injecting a flake product does not offer the desired result due their lack of mass.
To insulate the wooden support floor, you will need the following:
- Isomat KE8 of KE14: we recommend the 14 kg/m2 variant for the best result.
- Stauf glue: a paste glue that is easy to spread and doesn't smell strongly (optional).
- Isotape Alu: for sealing seams and cracks (optional).
- Glue comb: handy glue comb for processing Stauf paste glue.
- Stanley- of hobby knife.
- Sika Flex Kit: for sealing cracks and seams between the plates and along the walls.
The step-by-step plan for the acoustic insulation of a wooden storey floor
Step 1: The preparation
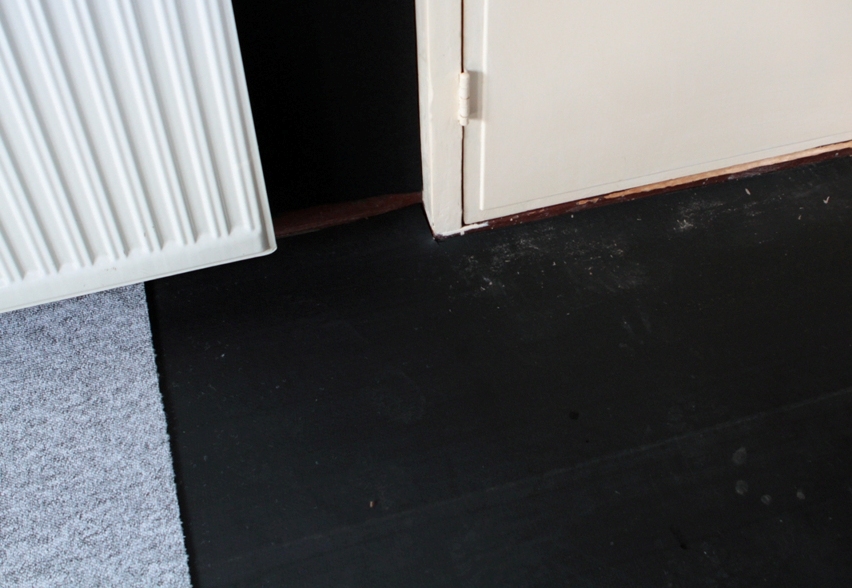
When all floor coverings - such as carpet - have been removed, the supporting floor is visible. First, the floor should be inspected to detect loose planks or floorboards. Fixiate them so that the floor is flat and stops creaking. Next, make sure that there are no seams and cracks that can form sound leaks. This is important for the end result! Seams and cracks can be sealed off with Sika Flex. Larger cracks can be closed with pieces of filler wood and sealant. Make the floor dust-free for the bonding of the Isomat and the sealant work.
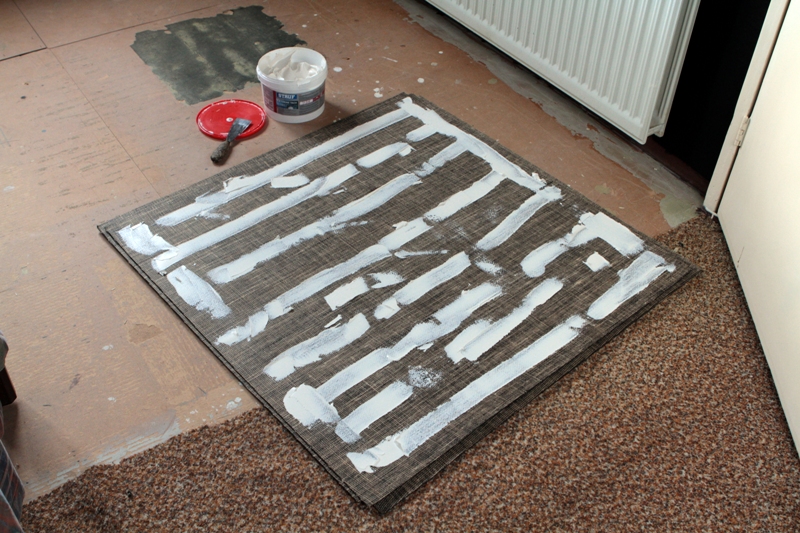
Isomat glued with Stauf Extreme Tack
Step 2: Apply and process Isomat
With Isomat you do not create a floating floor, but a foundational and acoustically insulated floor. The plates can be fixed by gluing or stapling them. You can simply press Isomat tightly against the walls and/or the skirting boards. In fact, this should fit tightly and seamlessly against the walls or skirting boards for preventing sound leaks! Gluing the plates is not always necessary. You equip the entire Isomat board with glue if you have a floor consisting of plank, and about 70% if you have a smooth plywood or underlayment floor (see photo). Boards can deviate a bit and cause cavities, gluing prevents this. The paste-like glue is easy to apply and spread with a glue comb, using a bucket of 3.5 kg you may be able to cover about 5 to 6 m² (depending on the application). Press the plates firmly, so that a good adhesion is created. At room temperature Isomat bends slightly towards the subsurface, and by walking over the plate taking small steps it is well pressed and formed.
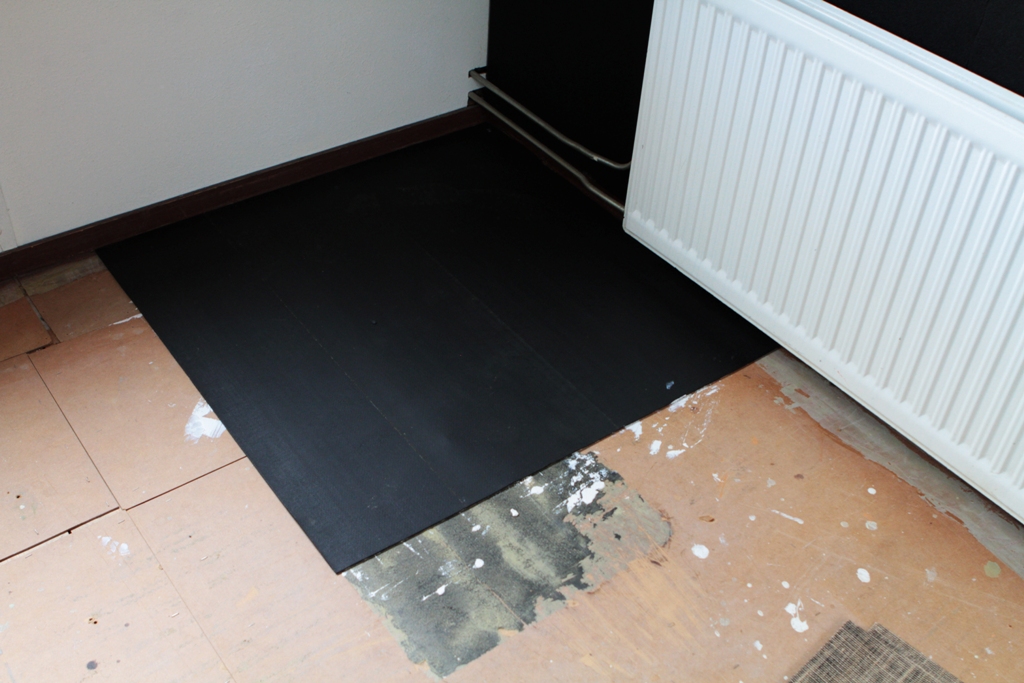
Isomat tight to the wall
Step 3: Seams and cracks
Then the seams and cracks are sealed, for example along the skirting boards and walls and the seams between the plates themselves. The plates of Isomat will not be 100% perpendicular, and probably the walls won't be either, causing some seams may rise. When the entire floor is equipped with Isomat, it is advisable to cover the seams with Isotape Alu (see image).
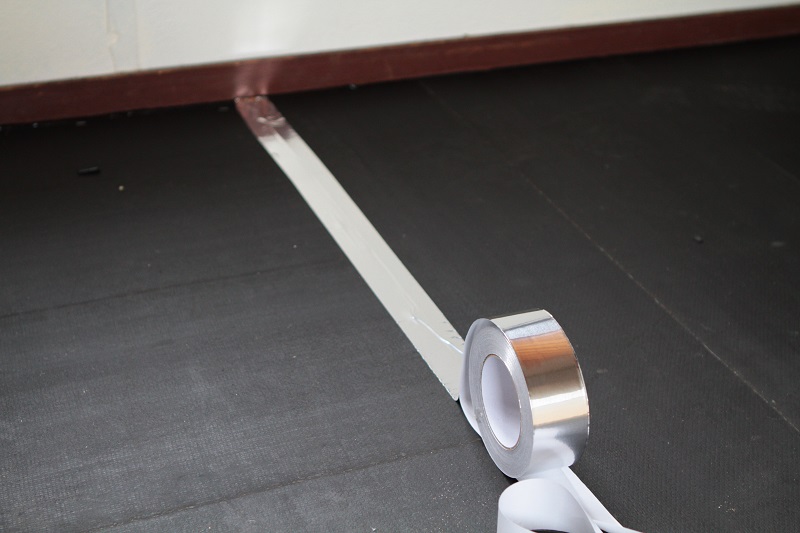
Seams and cracks sealed with Isotape Alu
Step 4: Finish
Now that the wooden floor is equipped with Isomat, you will notice it became more solid by adding mass. The screed - in this example carpet tiles - provides better acoustics, since carpet absorbs sound. You will have a lot less trouble with reverberation when you use carpet instead of a hard floor such as laminate. By applying a soft floor covering, sounds of walking will also be less noticeable on the storey below.
Isomat KE14J finish with carpet tiles
Result
The wooden floor we based ourselves on in this article is located in a house that was build in the sixties: a plank floor finished with hardboard plates. Airborne noise, voices and music were especially poorly insulated, both from up to downstairs and vice versa. Voices from lower rooms were perceived as hums, but after isolating with Isomat the voices sound as though they are located much further away. Contact noice, for example caused by dropping objects or moving an office chair, are now also less disturbing.
Unfortunately, we cannot guarantee you any end result, but in many situations this step-by-step plan results in an improvement of about 8 dB (a). You can further improve on this result by finishing the Isomat with a layer of plywood or gypsum fibreboard (or similar) of at least 12 mm thick. This layer can be glued and/or screwed on top of the Isomat. This not only ensures more mass, but it also causes the floor to bend less.
Questions? 
Having problems that give rise to questions? Please contact us via the contact form, send us an e-mail or call: (+31) 0183-643885.